DIY Homemade Fruit Popsicles
This post may contain affiliate links. Please read my Privacy Policy for details.
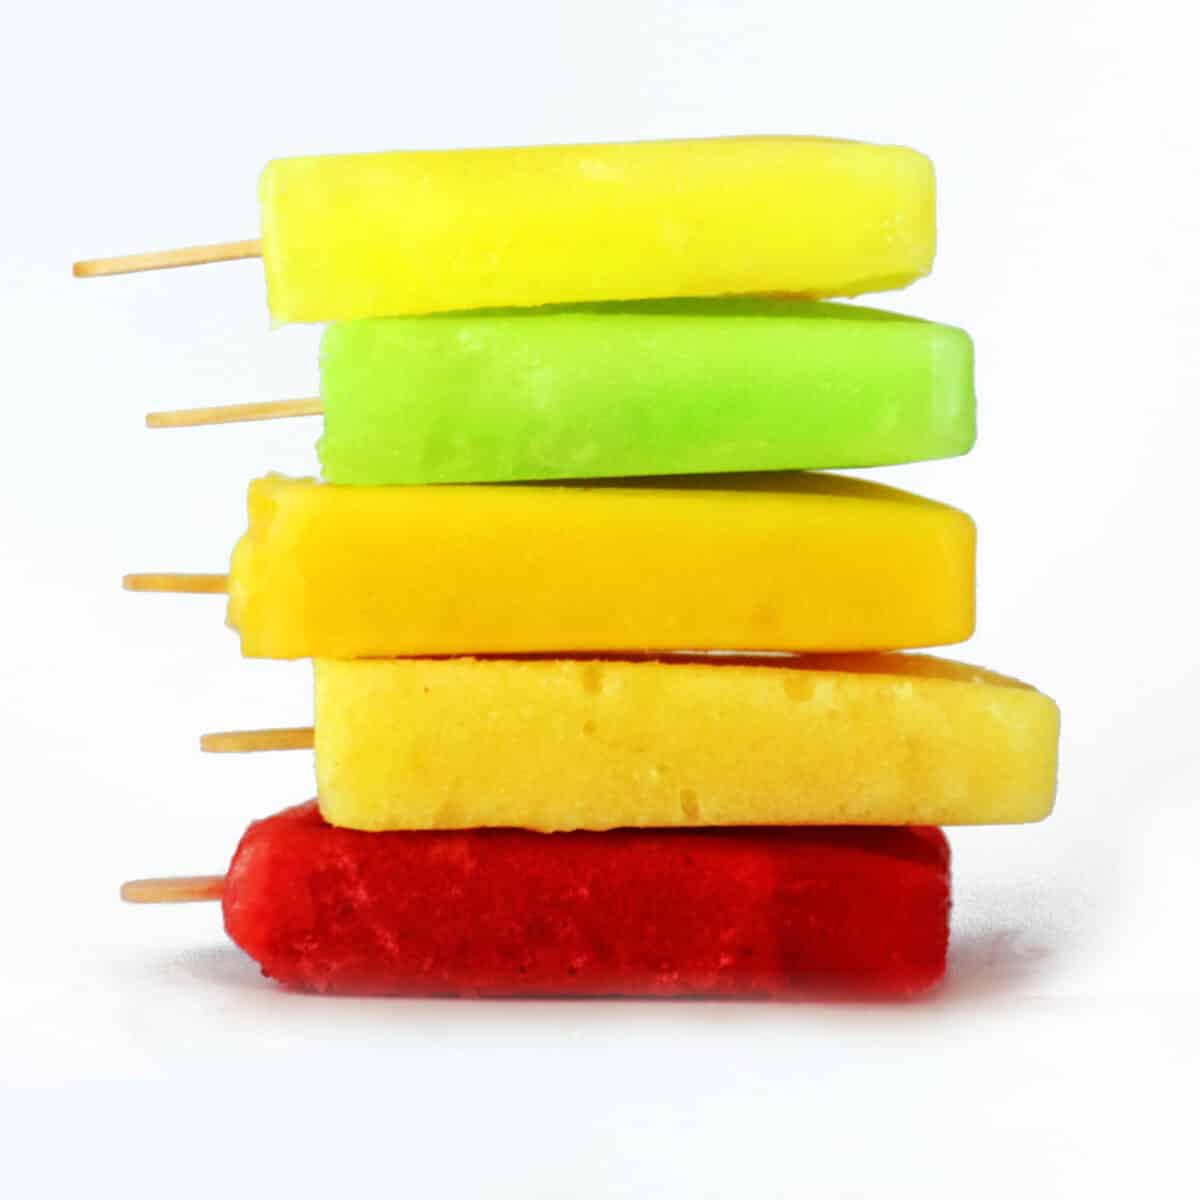
Make DIY homemade fruit popsicles using natural fruit! With a few minutes of hands-on work, you can make popsicles with your favorite fruits. This is a great way to make unprocessed treats and reduce food waste!


DIY Homemade Fruit Popsicles
At a Glance
EASE: Super Easy!
COURSE: All Day Frozen Treat
TIME: 5-10 Minutes Hands On + 6 Hours Freezing
What you’ll love about this recipe
How to Make Fruit Popsicles
Making fruit popsicles at home takes only four ingredients and a few minutes of hands-on work. I love that you can use this recipe to make your flavor or flavor combinations. There are only four easy steps you need to take.
- Select a mold.
- Select your fruit/fruits.
- Decide if you want inclusions and, if so, what they are.
- Determine your liquid base.
Once that is determined, the rest will take only five to ten minutes of hands-on work!
Step One: Select a Mold
The first thing to do is determine what type of mold you will use. You can make your own or purchase a mold on Amazon.
- DIY: Paper Cups and Popsicle Sticks – You don’t need fancy molds to make great popsicles. Use paper cups, plastic wrap, and popsicle sticks. I call this going old school!
- Metal Popsicle Molds – Reusable metal popsicle molds are durable and eco-friendly.
- Silicone Molds – Flexible silicone molds make removing your popsicles easy. They come in various shapes and sizes. I think it’s fun to use theme molds for kids’ parties.

Step Two: Select the Fruit
There are so many fruits to choose from, but you might ask yourself, which fruit is the best? The answer is simple: the best fruit is the one you enjoy the most!
Most fruits can be pureed into juice. The exception is citrus-type fruit like lemon or lime. In those instances, you must squeeze the juice out of the fruit. My two favorites are lemon popsicles and mango blueberry popsicles! Both taste great on a hot day!
Step Three: Adding Texture (Optional)
Incorporating fruit into your popsicles adds both texture and visual appeal. While this step is optional, it can elevate your popsicles with a WOW factor! Add small or thinly sliced pieces of fruit or herbs like mint or basil. Follow these steps to add fruit slices or chunks to your popsicles:
- Slice or chop the fruit or herb into small pieces.
- Arrange the fruit herb along the sides of the mold.
- Pour the liquid over the fruit almost to the top.
My Favorite Popsicle Texture Combinations
- Strawberry juice with mint
- Mango with lime chunks
- Raspberry juice with basil leaves
- Lemonade with chopped-up blackberries
- Lime juice with kiwi chunks

Step Four: Liquid Base
- Coconut: To create a tropical flavor, replace half the water with coconut water or coconut milk (found in the dairy section.)
- Yogurt: For a creamier popsicle, replace a quarter of the water with plain or flavored yogurt.
- Vodka: You can always make your popsicles adult by adding .5 an ounce to each popsicle. I do this in the mold so that each one has the same amount.
- Water: This is standard for most popsicles and my personal preference. It’s straightforward!
Pro Tips
- Boost the Color – For a pop of color, add 3 -4 drops of gel food coloring.
- Popsicle mold: Invest in a quality mold to make uniform and easy-to-handle popsicles. Silicone molds are a great option as they are easy to use and clean.
- Run the mold under warm water: To remove the popsicles from the mold, run it under warm water for a few seconds to loosen them up.
- Unmolding Popsicles – Frozen popsicles tend to become stuck within the mold. If this happens, run the mold under warm water for 30 seconds. After that, gently pull the popsicle from the mold. If the popsicle does not release, repeat in 15-second increments until it frees. Use caution not to get water in the mold.
Frequently Asked Questions
Check out these other posts:
More Individual-Sized Treats
If you tried this DIY Homemade Natural Fruit Popsicle or any other recipe on my blog leave a five star rating and let me know how it went in the comments below. XOXO, Ruth

DIY Homemade Natural Fruit Popsicles
Equipment
- Craft sticks
Ingredients
- 1 cup (237g) fruit, frozen or fresh
- ½ lemon, fresh squeezed
- 2 tablespoons (42g) honey or agave syrup (Adjustable to preference.)
- 1 pinch salt
Instructions
- Blend all ingredients in a blender until smooth. If desired, strain the liquid through a mesh sleeve to remove any seeds.
- Mold: Pour the mixture into the popsicle mold. Insert craft sticks and freeze for at least six hours.
- Unmold: Remove the popsicles from the mold and enjoy! You may need to run the mold under warm water for the popsicles to release.
Notes
- Variations: Experiment with different flavor variations! Try adding yogurt for creaminess or coconut water for a tropical flair.
- Flavor Combinations: Get creative with flavor combinations! Consider adding multiple fruits and herbs to create unique flavors!
- Storing: Line an airtight storage container with parchment or wax paper. Neatly line the container with a row of popsicles. Lay another piece of parchment or wax paper on top, repeating in layers until the container is full. Store in the freezer for up to three months.


